Reviewing all kinds of Arts and Crafts product
Print your photos on to fabric and make a quilt, create your own cards and scrap pages
Top Product Reviews
Reviews all 'crafty' computer products that you can print using your ordinary home computer printer
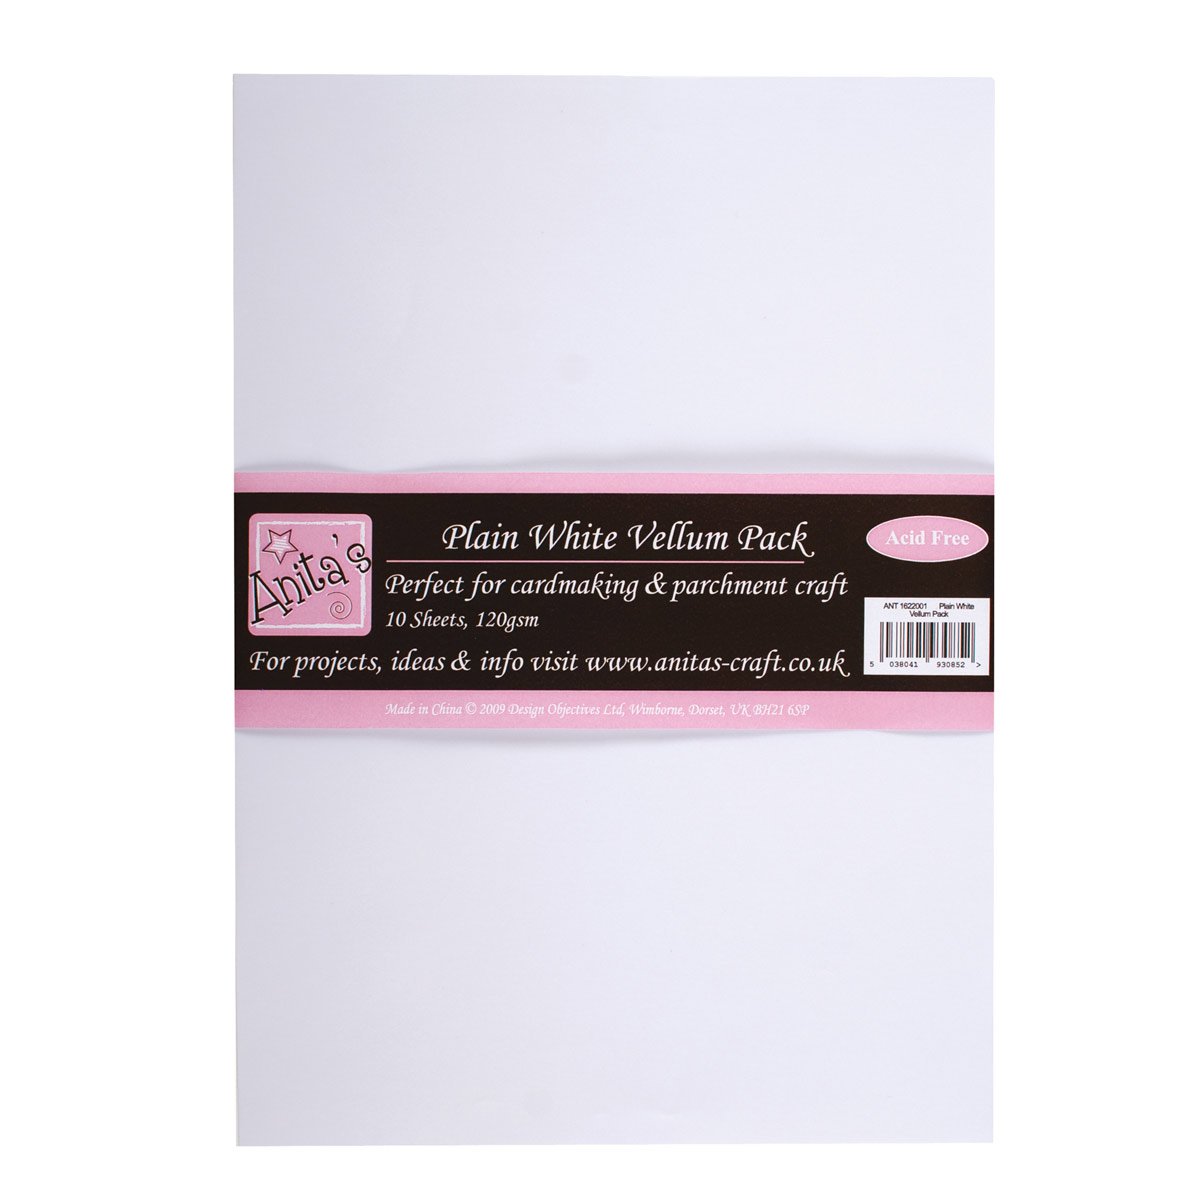
Vellum Paper
Best Picked Quality Vellum Paper Of 2019 Vellum paper has … Continued
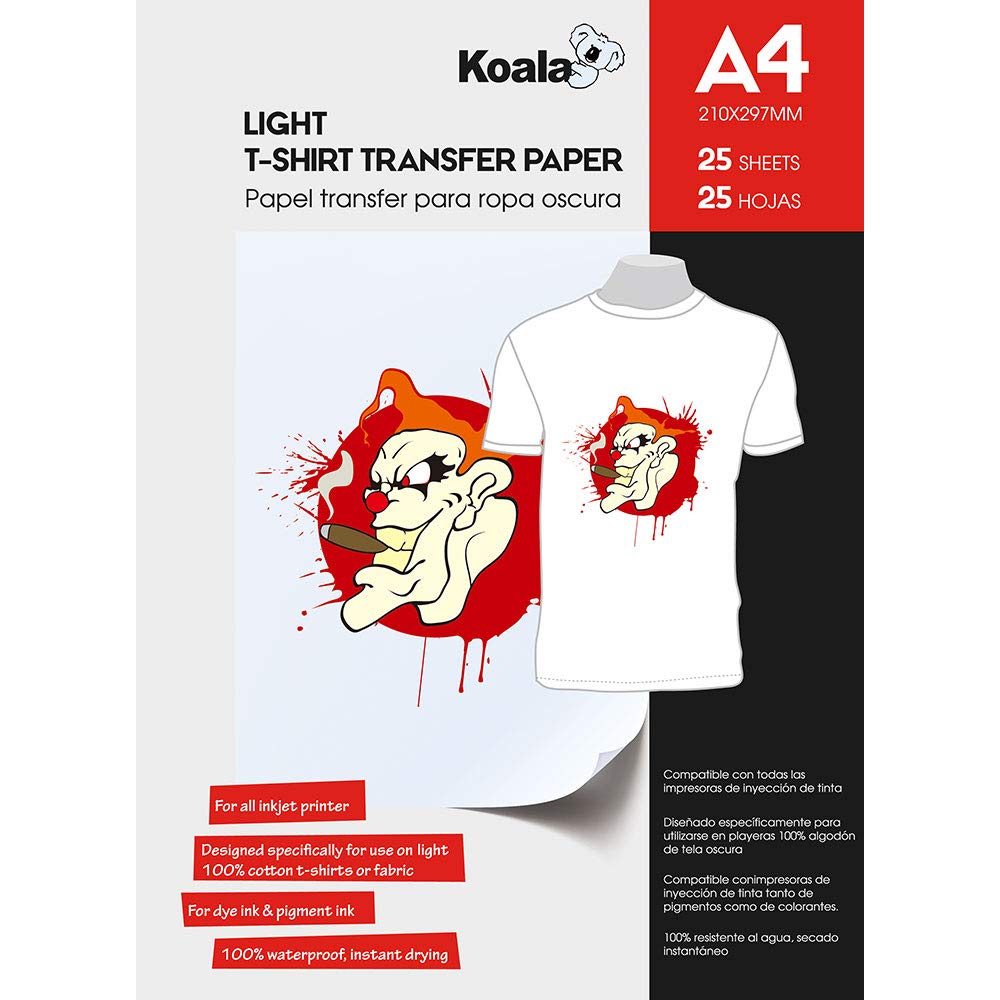
5 Best Irons on Transfer Paper
Washable Printing Papers for You to Buy People trying to … Continued
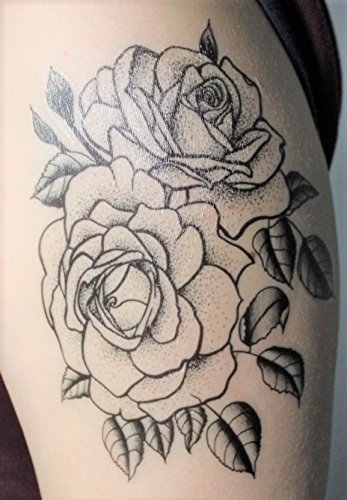
Best Temporary Tattoo Paper for Inkjet Printer
Put A Glance At The Top Five Inkjet Tattoo Papers … Continued
9 best Water-Slide decal sheets reviewed
If you are in love with art and craft, decal … Continued
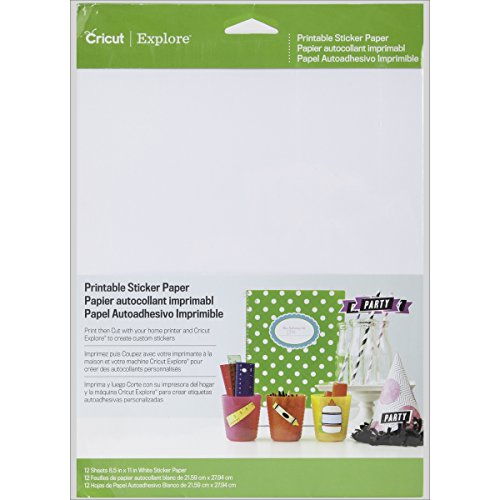
Best Cricut Printable Sticker Paper
5 Of the Best Cricut Printable Sticker Paper for Printing … Continued
Recently Product Reviews
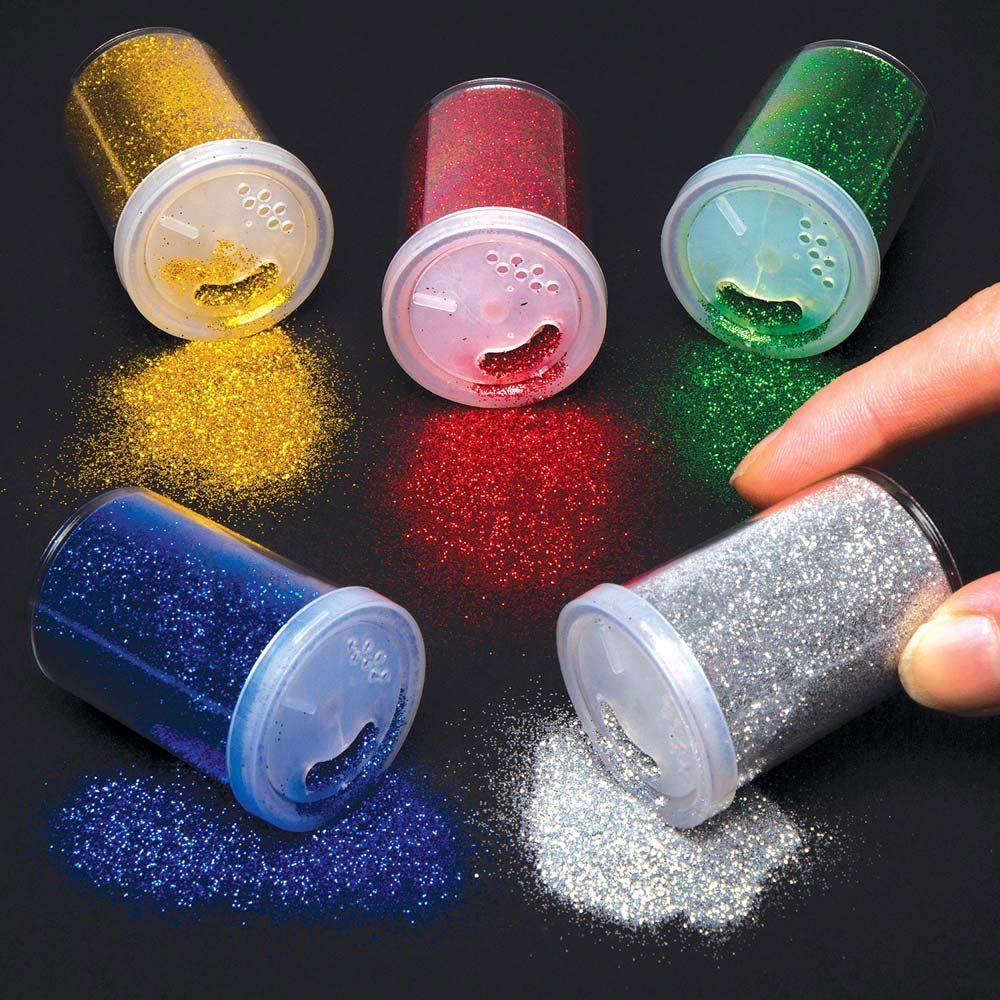
Best Glitter Set for Card, Craft, Art and Slime
The best glitter set for Kids in the market All … Continued
![10 Best Inkjet Photo Paper [UK]](https://www.craftycomputerpaper.co.uk/wp-content/uploads/2019/10/hp-inkjet-photo-paper.jpg)
10 Best Inkjet Photo Paper [UK]
Are you looking for the best Inkjet photo paper? Printing … Continued
![Best Face Paints 2019 [UK]](https://www.craftycomputerpaper.co.uk/wp-content/uploads/2019/10/Non-Toxic-Face-Paint.jpg)
Best Face Paints 2019 [UK]
Face Painting is a wonderful activity for both adults and … Continued
![The Best Home Inkjet Printers [UK]](https://www.craftycomputerpaper.co.uk/wp-content/uploads/2019/10/All-in-One-Home-Printer.jpg)
The Best Home Inkjet Printers [UK]
If you are looking for an affordable Inkjet Printer to … Continued
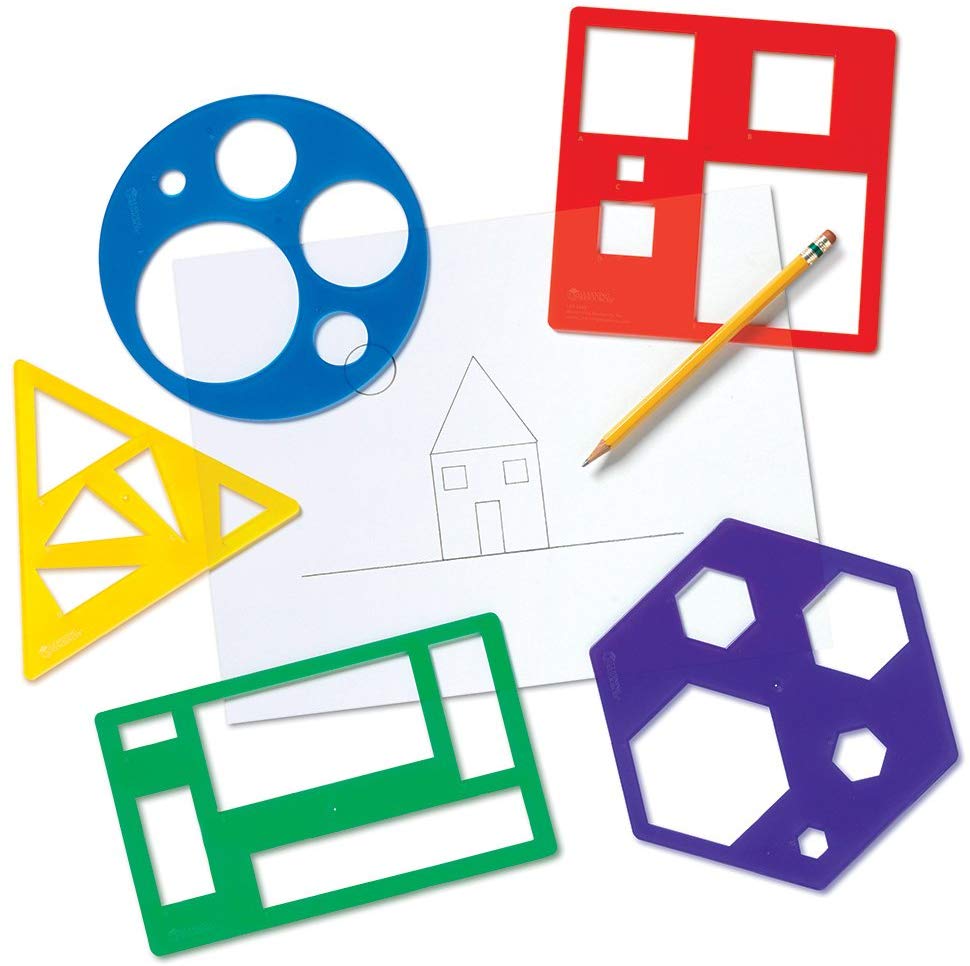
Best Stencilling Drawing Set for Kids
Stencilling crafts are fun for kids of all ages, and … Continued
Recently How-To Article
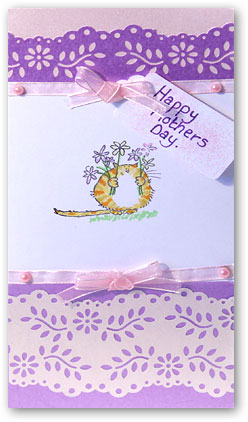
Happy Mother’s Day Card
Let your mum know how special she is with this … Continued
Dry Rub off Decals
Instructions for Dry Rub off Decals 1. Print off the … Continued
Laser heat transfer paper
How to use Laser heat transfer paper This paper can … Continued

Heat Transfer paper Light and Dark
Instructions for Heat Transfer paper Light and Dark 1. Using … Continued
Instructions for Inkjet fabric sheets
Inkjet fabric sheets : Including Cotton, Silk, Linen and Voile … Continued