Instructions for Water slip decals
- Print off the decal paper as if it was normal paper, no need to adjust printer settings as the decal paper works better with a small amount of ink. Leave the paper to dry for at least 30 minutes. Spray the paper with any type of acrylic varnish. It is better to spray 3 thin coats of varnish to make sure that the ink is sealed onto the paper. This reason for this is because the ink in an inkjet printer is water-based. If you have not sprayed on enough varnish the ink will come off the paper when it is placed into the water for the next stage. If there is too much varnish the decal will become hard and not work properly. The best rule of thumb is ‘less is more’ when it come to varnish. If you run into problems using the decals it is usually at the varnish stage either using too little or too.
- Once the paper has been coated with at least 3 thin coats of varnish the designs can be cut out with a pair of scissors or a craft knife. When using the white decals be careful to cut around carefully or you will be left with a white border around you images. Using Clear decal paper is easier because any excess will not been seen because it will appear clear. Once cut out place the decal into a bowl of water and leave for a up to 30 seconds.
- After 30 seconds gently feel the decal between your fingers, if you can feel the decal transfer and the backing paper slipping then the decal is ready to use. Slip the decal slightly from the backing paper and lift out of the water, shake off the excess water and get ready to apply onto the surface you are decorating. At this stage do not take the decal off the backing paper or you will find yourself in a real mess, the decal will stick to itself and it is very difficult to undo.
- Looking at the illustration 4 attach the small lip of the decal transfer paper to the surface and then gently pull the backing paper away leaving the decal transfer to stick to the decorated surface.
- Once the decal paper has been attached to the surface it is possible to move it around to the desired position. You do need to handle the decal with care at this stage as it is very fragile. Once you have positioned the decal use a lint free cloth to dab off the excess water and remove any air bubbles. Leave to dry for 24 hours then varnish over with any type of varnish for extra protection.
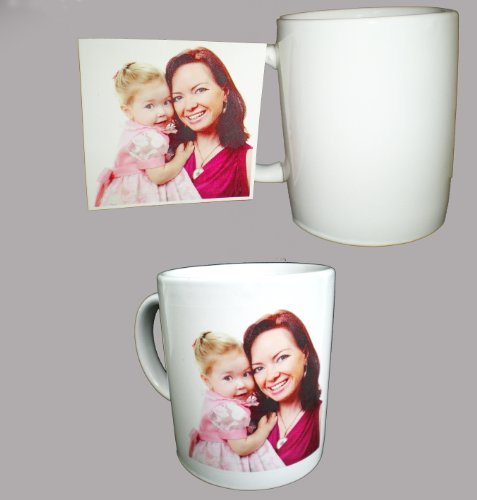
The best decal paper
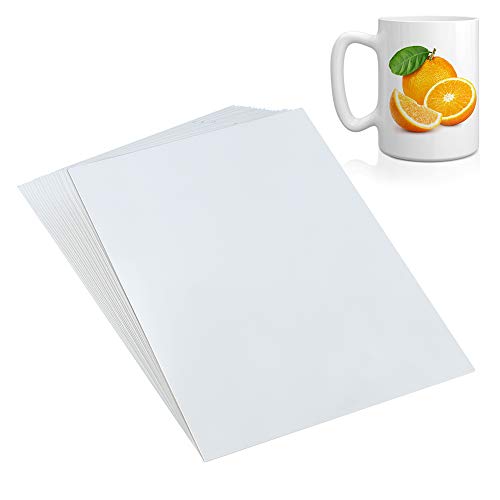
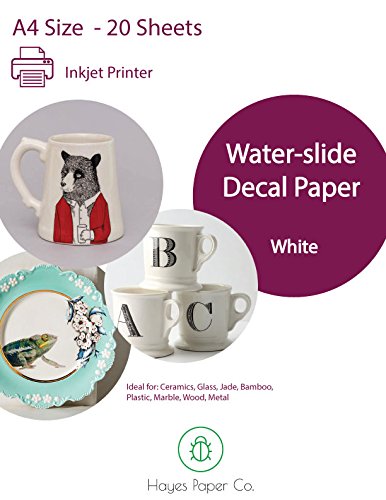
| Water slip decals Reviews | ||||||
|---|---|---|---|---|---|---|
| Image | Brand | Features | Price | |||
    |
| |||||
    |
| |||||
    |
| |||||
    |
| |||||