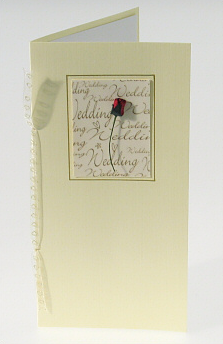
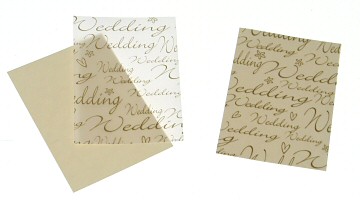
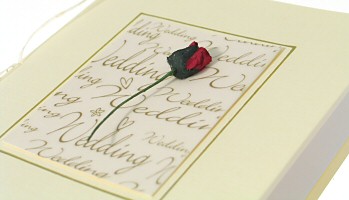
This card is great for wedding invitations or as a useful wedding card. A single red rose on the front is framed in front of a gold wedding vellum sheet. The ribbon at the edge and the insert on the inside give this card a really luxurious feel.
Materials and Tools
- Hearts ribbon (7mm) – about 35cm
- Claret rosebud
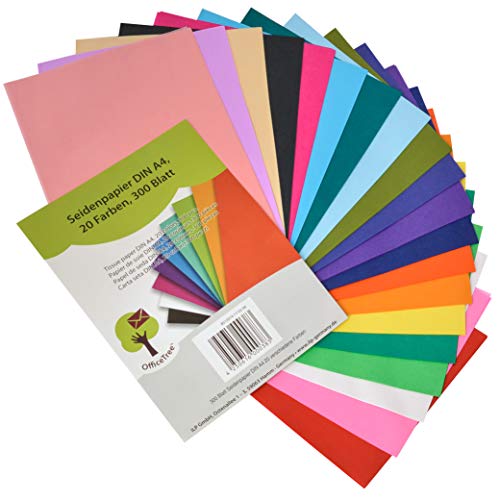
- Sheet of gold wedding vellum
- Card blank
- Glue Stick
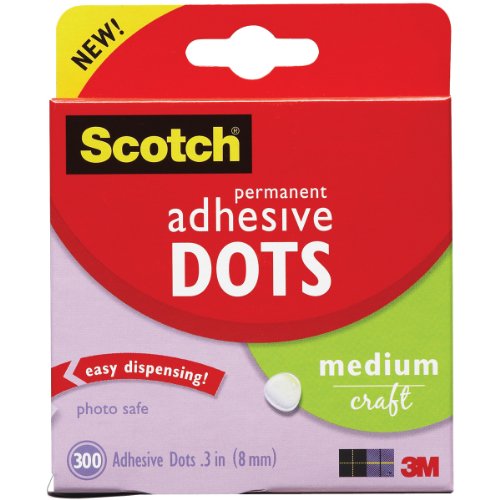
- Mini glue dots
Here’s a list of crafty bits that will help you with this lovely little ‘how to guide’.
| Making Wedding Invitation Materials Reviews | ||||||
|---|---|---|---|---|---|---|
| Image | Brand | Features | Price | |||
| 50 x A4 Translucent Vellum Tracing Paper 110gsm for Laser & Inkjet Printers |
| ||||
    |
| |||||
    |
| |||||
    |
| |||||
|
| |||||
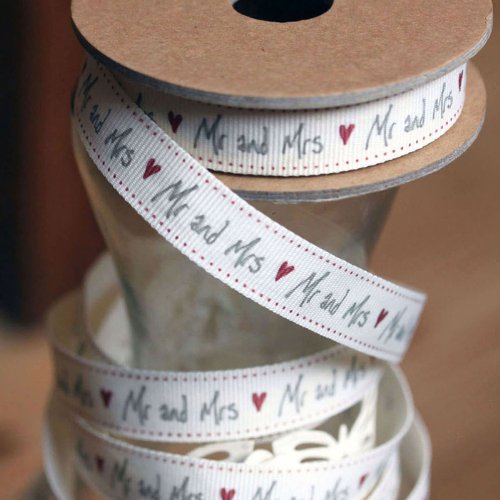   | East of India Mr and Mrs Ribbon italics 3 meter for weddings off white / cream |
| ||||
    | Anita's A6 Card and Envelope, Pack of 50, Pastel Pearlescent |
| ||||
|
| |||||
    | BIC Marking Metallic Colours Permanent Medium Bullet Tip Markers - Gold and Silver, Pack of 2 |
| ||||
    |
| |||||
|
| |||||
|
| |||||


Instructions
1. Cut out a rectangle of the ivory card and the wedding vellum, both measuring 5x7cm (2×2 3/4″). Put a thin but even layer of glue onto the ivory card, with the glue stick and stick the wedding vellum onto the card. If you have trouble getting the card exactly the same size as the vellum, cut out the vellum so that it is slightly bigger than the card, stick it onto the card, put it vellum side down onto a cutting mat and then trim the vellum to the same size as the rectangle of card using a craft knife and steel edged or metal ruler.
2. Stick the topper centrally onto the card blank, about 2.5cm (1″) down from the top of the card blank using a glue stick.
Using a gold metallic pen and a ruler, draw a thin line around the topper, about 3mm from the edge of the topper. This gives a gold rectangle, which frames the topper.
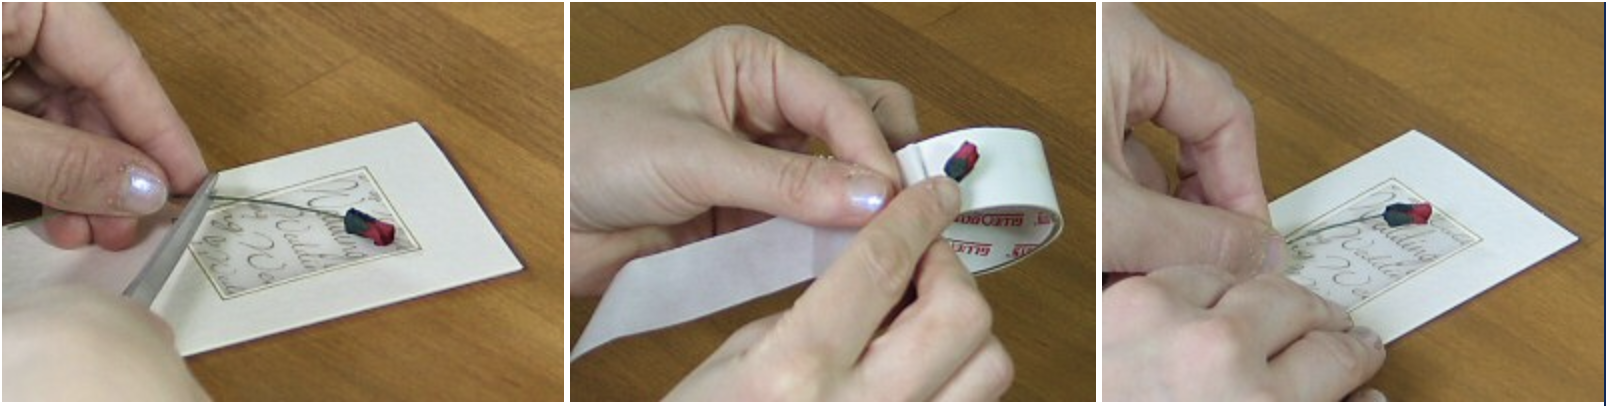
3. Take your rosebud and trim the stem so that it is the right length to fit diagonally across the card. Decide which side of the rosebud you want to be face down, then put this side onto a mini glue dot on the reel of backing paper, press down, then remove the rosebud and glue dot from the backing paper. Position the rosebud carefully, then stick down onto the vellum.
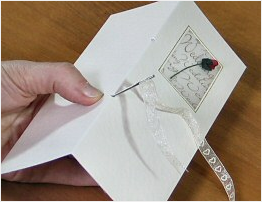
4. Stick your card insert into the card (glue dots or the glue stick will work well for doing this).
Using a ruler and pencil, measure 6cm in from the top of the card and put a very small pencil mark on the fold line of the card. Now measure 6cm from the bottom of the card and put a very small pencil mark on the fold line. Cut out a small triangle out at each of these points, using a sharp pair of scissors or a craft knife.
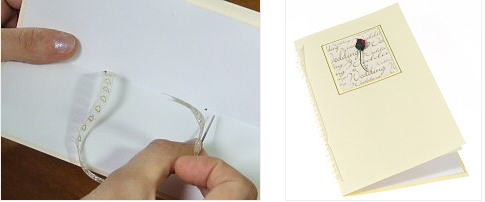
5. Take your piece of ribbon and thread it through a needle with a large eye (I use a darning needle for this, but your needle can’t be too big or you will struggle to get it through the hole in the card). Put the needle down through the bottom hole, and gently pull the ribbon through the hole until the end is about 1cm from the bottom of the card. Twist the ribbon around so that the glittering hearts are facing up.
6. Now your needle should be on the inside of the card. Put the threaded needle up through the upper hole, and pull the ribbon on the inside of the card taught.
Now your needle should be on the outer side of the card. Put the needle down through the bottom hole, and pull the ribbon taught. Your needle will now be on the inside of the card, and you now go up through the upper hole, once again pulling the ribbon taught.
Trim the ribbon with a forked end (fold the ribbon in half at the end, and make a diagonal cut with a sharp pair of scissors), so that it is approximately 2cm from the top and bottom of the card.