I have make a list of Temporary Tattoo paper for you to take a look!
| Temporary Tattoo Paper Reviews | ||||||
|---|---|---|---|---|---|---|
| Image | Brand | Features | Price | |||
   |
| |||||
    |
| |||||
    |
| |||||
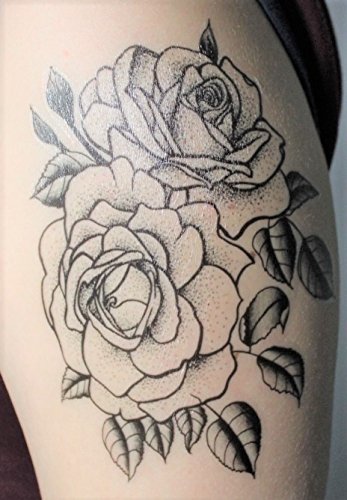
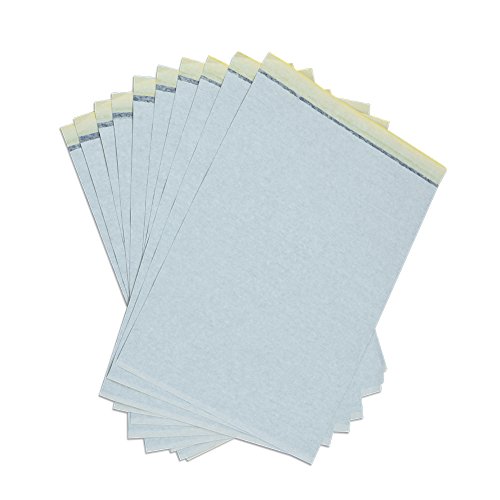    | Transfer Tattoo Paper,New Star Tattoo 10pcs Tattoo Transfer Paper Thermal Carbon Tracing Paper |
| ||||
Instructions
1. Print off your designs onto the paper ( shiny side) using normal settings. Leave the paper to dry for at least 1 hour or the process will not work and you will run into problems at the later stages. YOU MUST REVERSE ANY LETTERING AND IMAGES
2. The other paper which is part of the set is an adhesive paper. Carefully peel off the backing paper to reveal a very sticky surface, try not to touch it with your hands as it is very sticky.
3. The next stage is to attach the printed paper to the sticky paper. The best way to do this is to place your printed sheet down in front of you, print side up. Peel back the backing sheet for a couple of inches and place on top of your printed sheet. Start at the top and work down, It is very important that you form an airtight seal between the paper so take your time. Once you have attached the papers together use your thumb to rub them firmly together and push out any air bubbles. Leave to cure for half hour
4. Use a pair of scissors or a craft knife to cut out your designs.
5. Next you need to peel off the clear backing paper from the front of the image, it can be a bit fiddly so use a sharp edge to catch the surface. Peel off completely and be careful when handling the decal because it is very sticky at this stage.
6. Place the sticky decal face down onto the surface of the skin , press down firmly so the decal adheres
7. Sprinkle or use a paint brush to add water to the white backing paper. Soon you will see the paper is becoming saturated. After about 20-30 seconds the paper will easily slip off the tattoo. Dab off the excess water on the tattoo and leave to dry for a few minutes. If you are not happy with your results at this stage peel off straight away and start again
8. The tattoo will last a number of days and needs to be scrubbed off or use a small amount of any oil to work the Tattoo off.