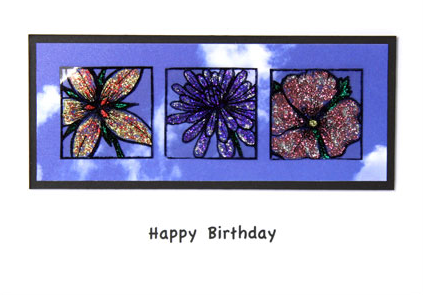
Glittered Flowers Birthday Card
These sparkly flowers are easy to make and look so pretty, with the blue sky providing a striking background. You can easily change the message to make this card suitable for lots of other occasions…
Materials
- Clear Film
- Glitter Glue
- Black Ink Pad
- Blue Sky card
- Black Card (we used A4 Coloured Card, Charcoal Black (10 sheets))
- Double sided tape
- Mini-mounting pads
- Hi-Tack Fast Tack Glue
- An A6 white card blank
Instructions
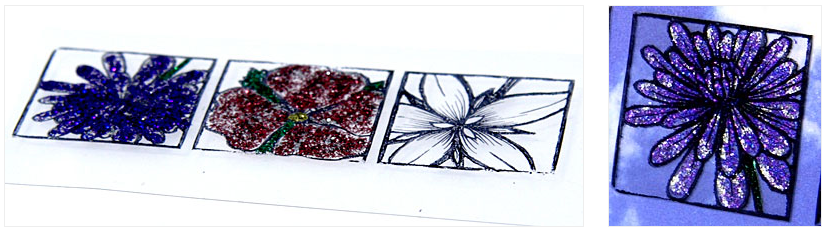
1. The first step is to stamp and glitter the flowers, as these take a while to dry…
Stamp the flower images onto a sheet of clear film and allow to dry. Turn over the sheet and use glitter glue to colour in the flower images on the reverse side of the film. Mixing silver or gold in with a colour can give a really good effect… it is worth experimenting first! Leave this to dry thoroughly (this takes varying times, depending upon the amount of glitter glue used). We are going to turn these squares over, so it is worth checking to see what they look like from the other side, before you leave them to dry.
2. The next step is to make the topper…
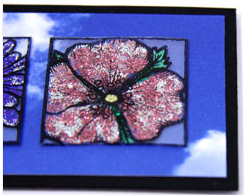
Cut out a rectangle of black card, measuring about 12x5cm (4 3/4 x 2″). Cut out a rectangle of the ‘blue sky’ card, measuring about 11.5×4.5cm (4 1/2 x 1 3/4″) and stick this centrally onto the rectangle of black card, using double sided tape. Cut out the glittered flower squares. Glue them onto the blue sky card, with the glitter glue side facing down, using a clear drying strong glue on the glittered parts, so it doesn’t show and leave to dry.
3. The last step is to put everything together…
Print ‘Happy Birthday’ onto a card blank, or alternatively, you could stamp a message or use a sticker. Stick the topper onto the card blank with mini mounting pads, making sure you have enough to support the topper evenly. Your card is finished!

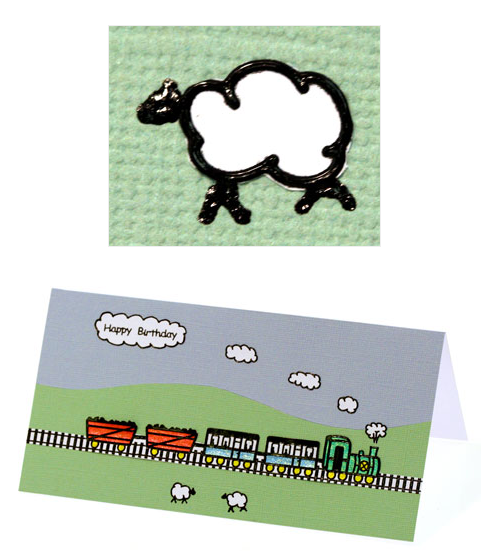
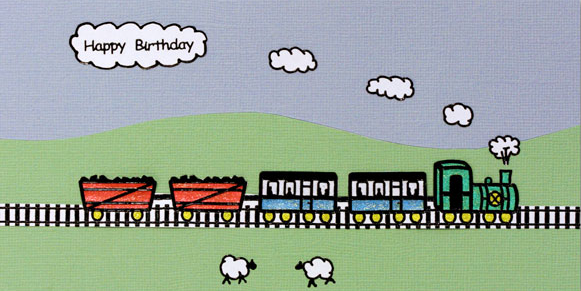
Train Birthday Card
This card is great for a child or train enthusiast! The two colours of card make an effective background and glitter gel pens give the train an added sparkle.
Materials
- Steam train peel off sticker
- Green and blue card (we have used textured card in Robin’s Egg and Lagoon)
- A tall (DL) card blank
- Glue Stick (Super Strength)
- Some pens to colour in the train (we used Glitter Gel Pens)
- Black glaze pen
- Black mixed greetings peel off sticker
- A piece of white paper
You will need a pair of scissors, trimmer or craft knife, mat and ruler.
Instructions
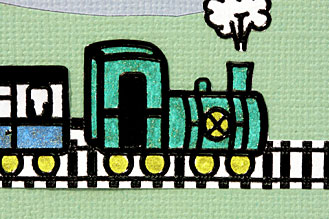
1. The first step is to assemble the train and colour it in so that it has time to dry…
Lay out a piece of white A4 paper on the table, with the shortest edge at the bottom. The short edge of the piece of paper is the same width as the DL card blank, so it is useful to lay the train and track along this edge. Line the bottom of the track for each section along the bottom edge of the paper and position them so that they match up with the previous section. Build your train – you will have some space on each side of the train, which you can fill with spare pieces of track. Colour in the train and leave to dry.
2. The next step is to create the background.
Take the blue and green pieces of card and tape them together with low tack tape. Cut a curved line, starting at about 5cm (2″) from the top of the piece of card, which goes through both pieces of card. If you take the tape off the card, you should now have two sets of pieces of green and blue card that will fit together. Glue down one of the sets of card onto the card blank, with the blue card at the top and trim the edges.
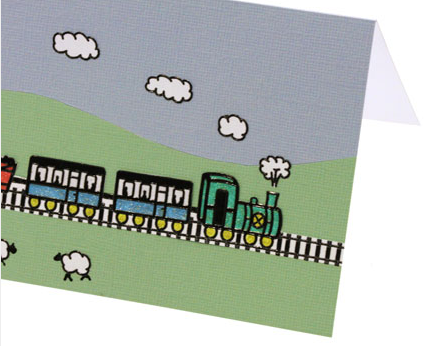
3. We now need to cut out the train and stick it onto the card.
Carefully cut around the train and put a generous even layer of glue onto the back of it. Position it about 2.5cm (1″) above the bottom of the card and press down firmly.
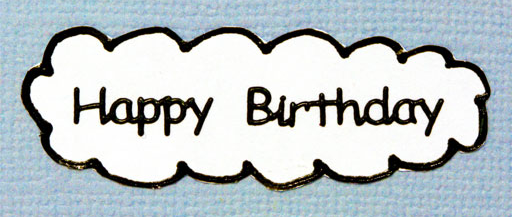
4. The final step is to add the finishing touches…
Stick one of the small cloud stickers onto the piece of white paper and cut around it. Stick this onto the card, below the track and add a head and legs with the black glaze pen. Repeat this to make another sheep that faces the first one. Stick one of the funnel steam stickers and three of the cloud stickers onto the white paper and cut them out. Stick these onto the background. The last step is to make the wording bubble. Stick a ‘Happy Birthday’ sticker onto the white paper and draw a cloud around it with the black glaze pen and leave to dry. When it is dry, cut around it and stick this onto the sky. Your card is finished!